
With exams and class scheduling, now is certainly a spooky time. In the spirit of the season, here are four STEM activities just in time for Halloween.
When Halloween is over, you’ll need something for those jack-o’-lanterns you carved. Before throwing it away, try this Halloween take on the classic “baking soda volcano” science fair project.
Materials needed:
- One carved Pumpkin
- 2 cups vinegar
- ½ cup baking soda
- Food coloring (optional)
Procedure:
In an area you don’t mind getting messy, (not the dorms, please) take the top off your pumpkin, and add the baking soda inside. Combine the vinegar and food coloring in a bowl, and mix. Slowly add the vinegar to your pumpkin, and watch as your pumpkin erupts.
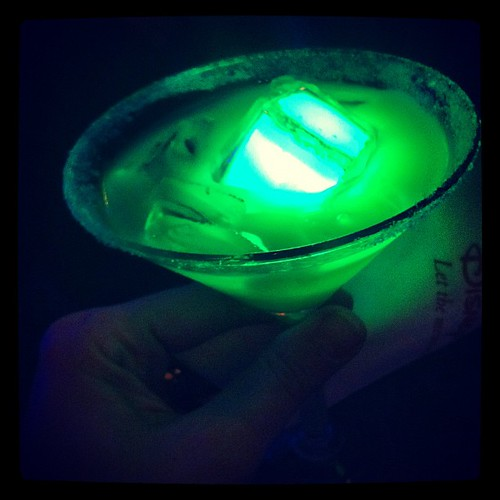
This activity is a simple one, taking advantage of the fluorescent qualities found in the chemical quinine, which can be found in tonic water.
Materials needed:
- A cup
- An ice cube tray
- A freezer
- A blacklight
- Tonic Water
- Your favorite cold drink
Procedure:
Pour the tonic water into your ice cube tray, and transfer to the freezer. After allowing the tonic water to freeze, remove the ice-cubes from the tray and add them to your beverage of choice. However, a clear, citrus drink such as Sprite works best for this. Turn off the lights, turn on the black light, and enjoy your glowing drink.
Expanding Dry-Ice Ghost Bubble
While this experiment can be conducted at any time of the year, there is a reason haunted houses take advantage of the dense fog dry-ice creates through the process of sublimation. This process can be accelerated by placing the dry ice in water, which this activity takes advantage of.
Materials:
- A medium sized bowl with a rim
- A small bowl
- Liquid dish soap
- A 20 by 2 inch absorbent cloth, such as a strip of a t-shirt.
- Warm water
- Dry ice
Procedure:
Fill each bowl half-way with warm water. In the smaller bowl, add a small amount of your soap. Wet the rim of the larger bowl, and dip your cloth into the soapy water to get it damp. Pulling your cloth taut, run it over the top of the larger bow. A bubble film should soon cover the top of the larger bowl. Watch as gas from the dry-ice expands your bubble, and wait for your bubble to pop.
Pumpkinception — Growing a Pumpkin within a Pumpkin
Want multiple pumpkins for the price of one? Then this activity is the one for you. This activity demonstrates the life cycle of a pumpkin, with visible roots and shoots growing out of your original pumpkin. Considering the harsh climate of the Keweenaw, you may have better luck downstate if you actually want a pumpkin. However, the initial stages of the process are possible indoors and cool to see.
Materials:
- One pumpkin, large or small
- Dirt
- Knife
Procedure:
Cut the top off of your pumpkin. Scoop dirt inside, water, and wait. In about a week, you should start to see results. When multiple sprouts are visible, plant your pumpkin outdoors, or throw it out if the climate is too harsh.
I hope that you try one of these activities, and learn something. Or, if not, at least go “huh, that’s kind of interesting,” and move about your day.